What the heck you say? Paper crafts are like fashion? We don't wear paper!
I am not into fashion, I don't know one designer from the next. My wardrobe comes mostly from Kohl's, Walmart and Amazon Prime and consists of a lot of cotton and denim. But I do know that fashion cycles around, fads come and go, and classics stick around for a long time. The same can be said for paper crafting products.
Paper Crafting Tools
I have been making cards for about 15 years and I have seen things evolve in the industry and in my craft room. I have jumped on many bandwagons I had no business being on and amassed a lot of instruments to play on that wagon. Here is how I see the evolution of a few of our favorite things.
Image Fads
The fashion in images seems to move at varying paces. A fashion or fad occurs when 3 or more companies carry a similar image. We have (or have had):
I do love the elephants though, so much so that I order 3 sets from different manufacturers: WPlus9, Avery Elle, and Mama Elephant. You can also find elephants by Lawn Fawn, Wild Rose Studio, My Favorite Things.
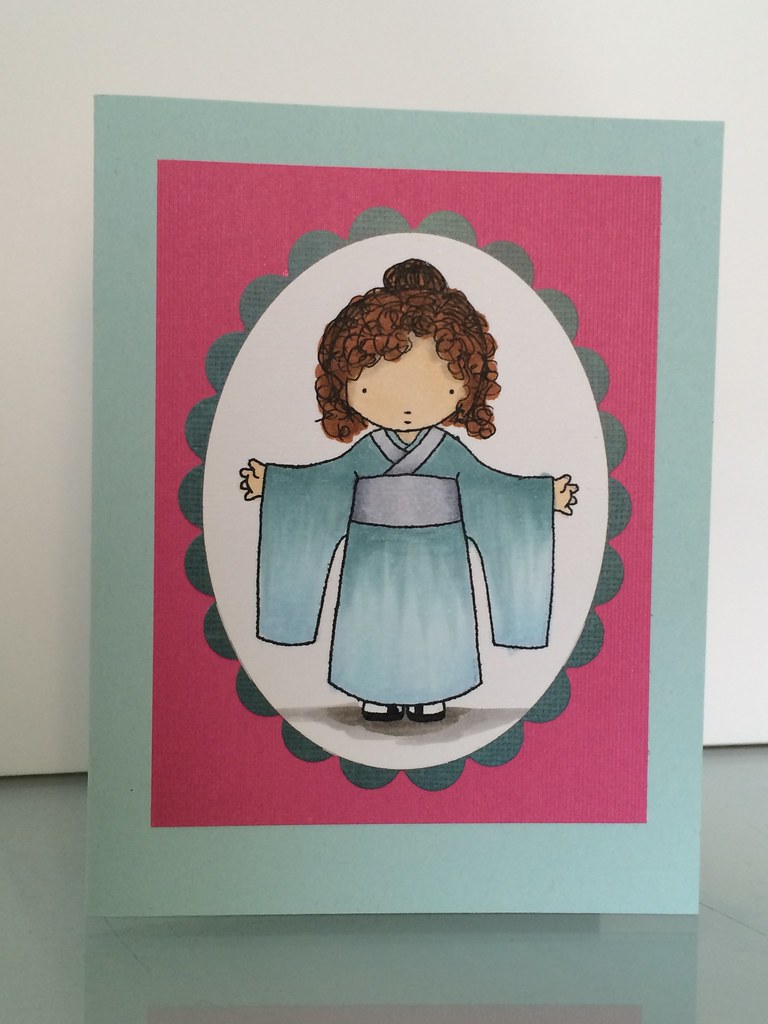
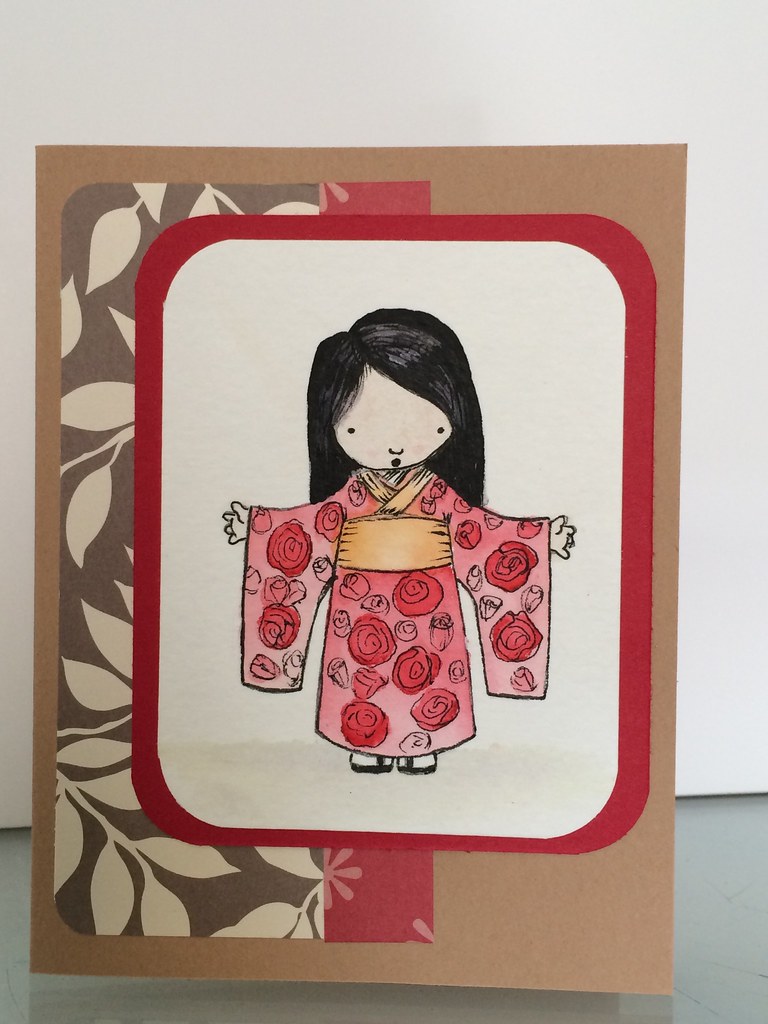
Here is a look at cards featuring these cuties.


I follow crafty trends from a distance these days. I know what is going on in the paper crafty world (and am excited to see the new Silhouette Mint and Silhouette Curio) but I can't buy everything that is popular. First of all I have a limited budget. Second, I have limited space. And finally, I have little interest in following every trend. If I bought every stamp I liked I wouldn't be able to eat or move in my craft room.
I need to start paring down my collection and using what I have. I'll be selling or donating items I had no business purchasing in the first place, like wavy scissors, ribbon, and copious amounts of brads.
I am not into fashion, I don't know one designer from the next. My wardrobe comes mostly from Kohl's, Walmart and Amazon Prime and consists of a lot of cotton and denim. But I do know that fashion cycles around, fads come and go, and classics stick around for a long time. The same can be said for paper crafting products.
Paper Crafting Tools
I have been making cards for about 15 years and I have seen things evolve in the industry and in my craft room. I have jumped on many bandwagons I had no business being on and amassed a lot of instruments to play on that wagon. Here is how I see the evolution of a few of our favorite things.
- eyelets — brads — mini staples — shaped paper clips
- buttons — dew drops — enamel dots — resin embellishments
- self adhesive bling — sequins
- glitter — chunky glitter — fine glitter — glitter paper — glitter pens
- ribbon — hemp thread — embroidery floss — baker's twine — washi tape
- stickers — rub-ons — chipboard
- rosettes — doilies — wood veneers
- circle punches — precut dies and wavy scissors — shaped punches — manual dies cutting machines — electric cutting machines
- water-based markers — colored chalks — water color pencils — Prismacolor pencils and Gamsol — Copic Markers
- wood mounted stamps — acrylic stamps — cling mounted stamps — digital stamps
- dye inks — pigment inks — Distress Inks — chalk inks — spray inks — hybrid inks
Image Fads
The fashion in images seems to move at varying paces. A fashion or fad occurs when 3 or more companies carry a similar image. We have (or have had):
- aquatic life and all things nautical
- banners and pennants
- bicycles and tricycles
- birds of every description and their homes
- butterflies and flowers
- cameras of every shape
- cassette tapes, guitars and stars
- chevrons, hexagons and sparkly gems
- coffee, and tea and kitchen tools
- elephants
- eyeglasses and mustaches
- farms and their critters
- fruits of every kind
- globes
- gnomes and their mushroom homes
- light bulbs and lamps
- loving people to the moon and beyond
- mason jars and all they can hold
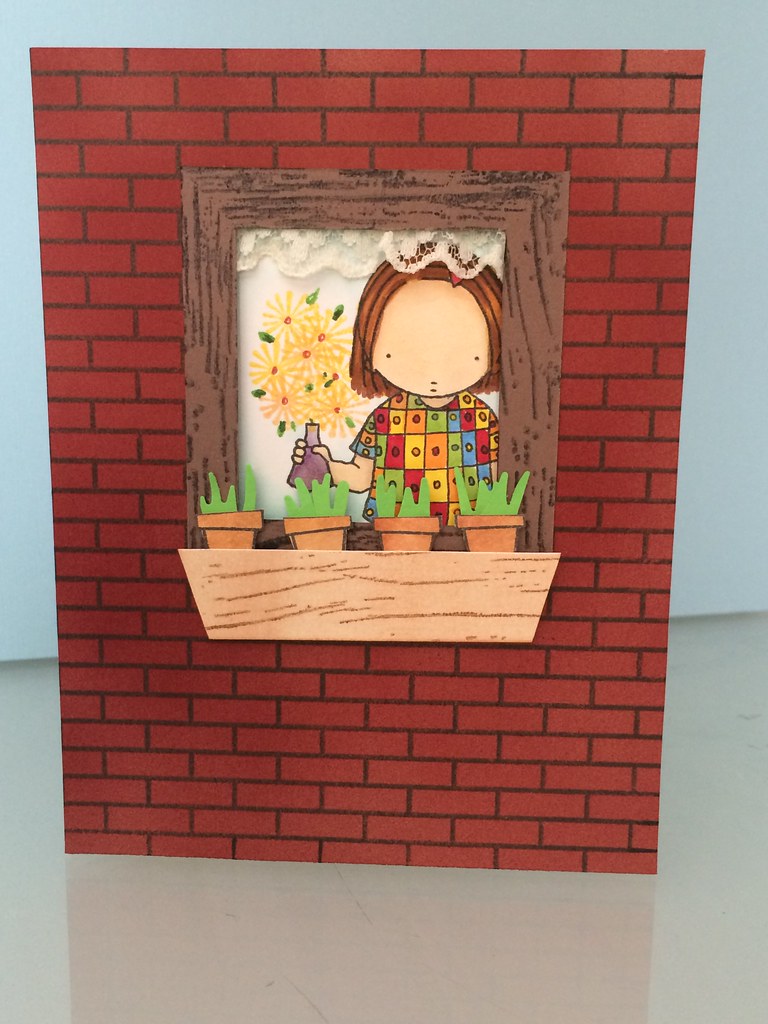
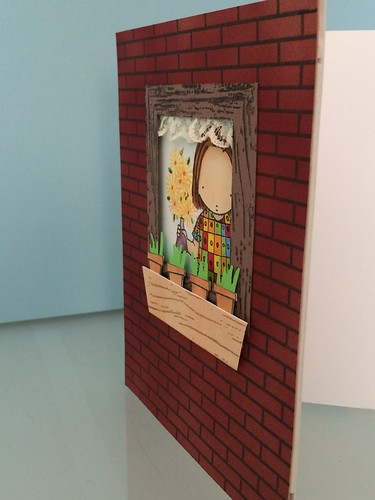
- potted plants
- robots, astronauts, rocket ships and all of outer space
- super heroes and skylines
- typewriters
- umbrellas, clouds and raindrops
- woodland creatures like owls, foxes and deer
- zoo animals and their babies
I do love the elephants though, so much so that I order 3 sets from different manufacturers: WPlus9, Avery Elle, and Mama Elephant. You can also find elephants by Lawn Fawn, Wild Rose Studio, My Favorite Things.
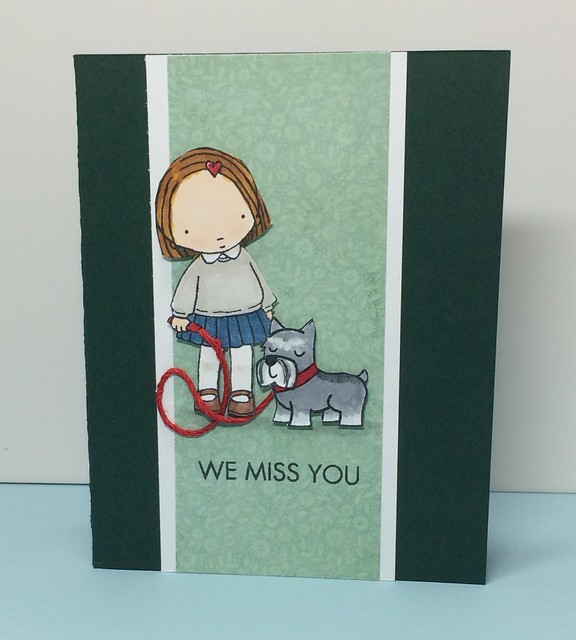
Here is a look at cards featuring these cuties.
Better than Fashion
If I use a 15 years old eyelet, no one will know. I can still make something beautiful. If I use a long retired stamp set no one but a paper crafter familiar with the manufacturer will know. The card recipient will still be happy. Paper crafting supplies don't becomes threadbare with use. They don't shrink, ride up or lose their usefulness. With proper care they will last until with put them in a scrapbook or envelop. See better.
I follow crafty trends from a distance these days. I know what is going on in the paper crafty world (and am excited to see the new Silhouette Mint and Silhouette Curio) but I can't buy everything that is popular. First of all I have a limited budget. Second, I have limited space. And finally, I have little interest in following every trend. If I bought every stamp I liked I wouldn't be able to eat or move in my craft room.
I need to start paring down my collection and using what I have. I'll be selling or donating items I had no business purchasing in the first place, like wavy scissors, ribbon, and copious amounts of brads.
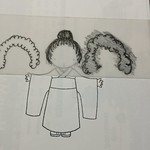
Some people do wear paper, and become famous doing it too.
Check out Fashion by Mayhem. This 4 year old is designing fashion using paper and tape and got a gig designing kids clothes for J Crew because of her blog and Instagram feed. She has better taste in clothes than I can ever hope to have.Happy Crafting,


.jpg)